Monday, 4 January 2016

12 Hour Quilt

Last weekend I made a quilt in 12 hours!


Start to finish. Literally from getting the materials out of the bag and choosing which colours to use, to snipping off the last thread on the binding and handing it over to my son. (Although actually - as we'll see - there is a bit of binding that needs some attention....)

I got this book for Christmas:


Sherri Wood's 'The Improv Handbook for Modern Quilters' 

And having read it from cover to cover, I wanted to get stuck in! Sherri's style is almost totally improvised, and the book includes several different sets of ideas for quilts based on some of hers. She calls this ideas 'scores' - I found myself thinking of them more as algorithms. The idea is that you choose two or three constraints - fabric quantity, shape, or whatever - and then just take it from there!

The first 'score' in the book, and the one this quilt follows, is called Floating Squares. You start by choosing just three fabrics. I was stuck - so I added an element of randomness by asking my 10 year old son to choose three for me, from the bag of fabric fat quarters and remnants that was another of my Christmas presents (what a perfect present!).

He chose the orange batik, the brownish floral and the yellow that you see in the centre and top of the picture above. We then decided together that we would use half as much of the brown as of the orange. The yellow became the 'filler fabric' that the score calls for by default, as there was more of that than the others - about 3/4 metre, whereas the others were a fat quarter and a quarter yard remant which we cut in half.

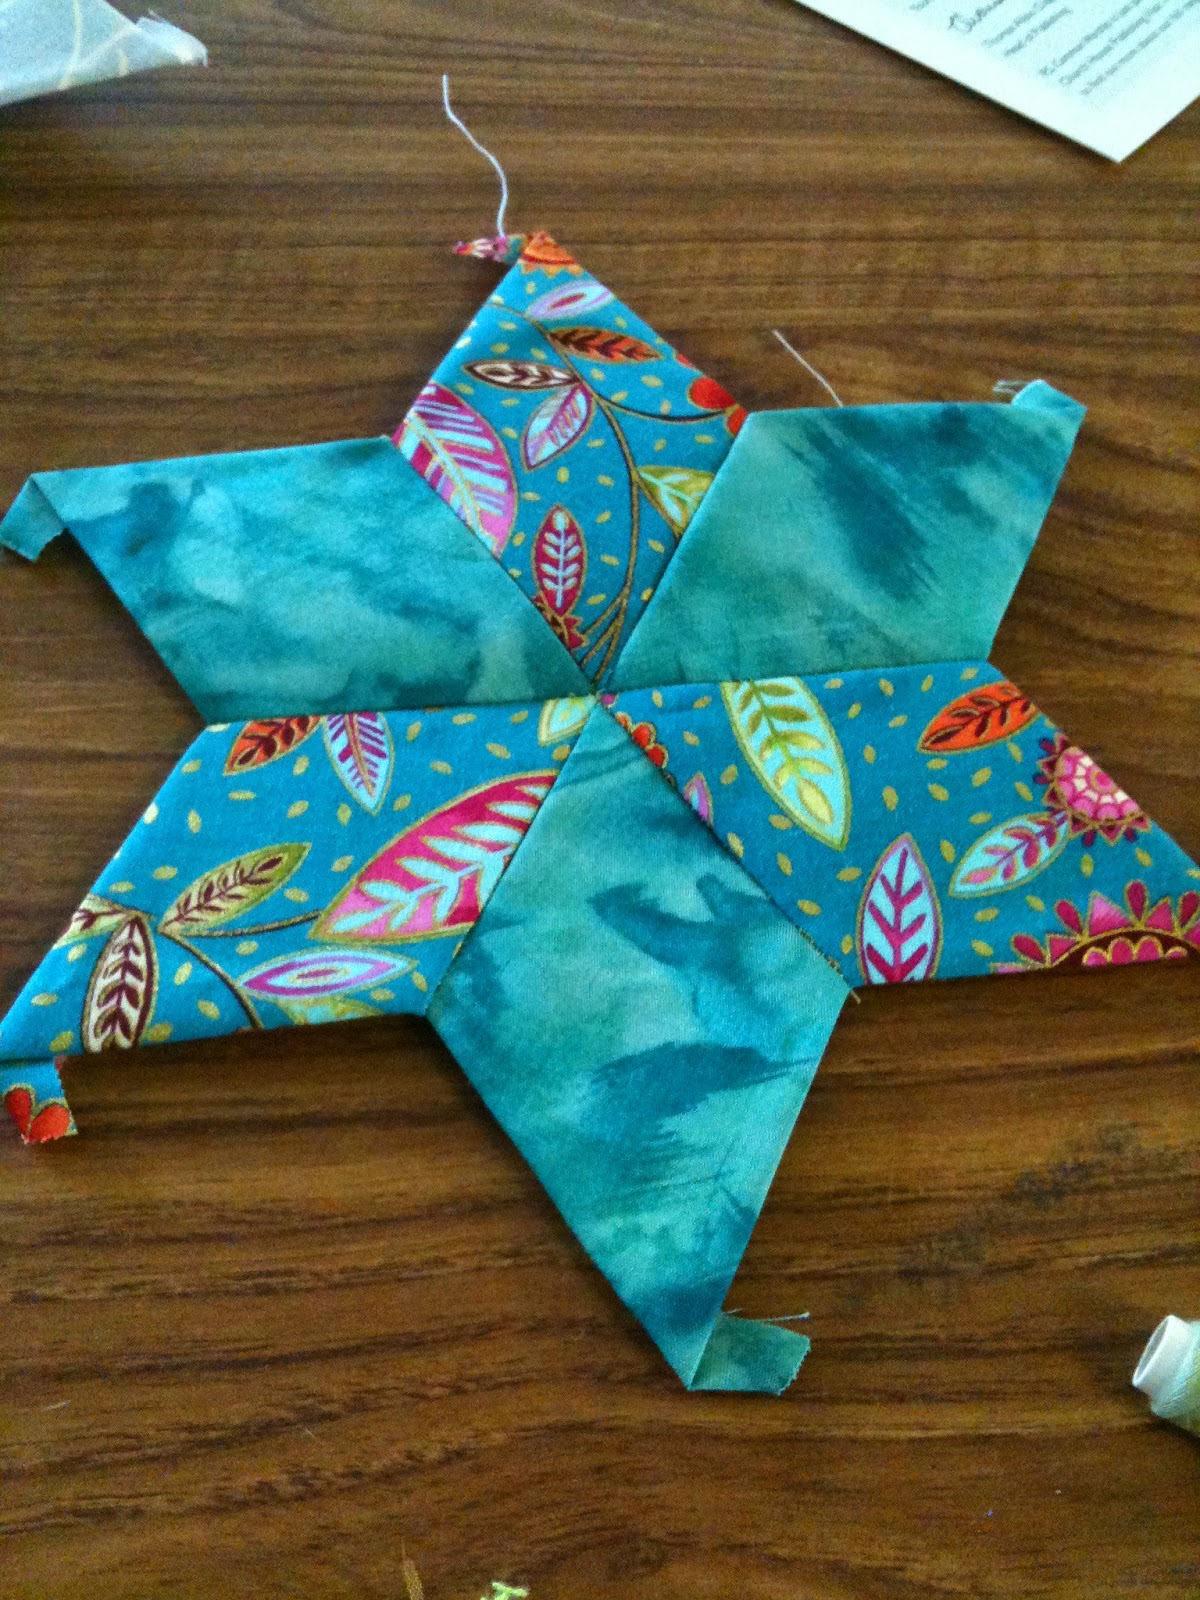
Following the score, we then hand-cut rough squares from the orange and brown fabrics - again, I let him decide on the size. It is part of Sherri's style that you don't use rulers and don't worry about straight sides! Perfect for quilting with kids - frankly, I myself lose the will to live if I'm asked to measure 45 3" squares, so goodness knows how a child would cope.

You then simply add enough of the yellow to the squares to get them to fit together!

When I had run out of the orange and brown (basically the bottom half of the full quilt above, minus the last row or so), I said it could be a wall hanging. But my son then asked if it could be made a bit bigger and become a quilt for him!

So I found some other fabrics and kept going until I had run out of yellow. Making all the bits fit together when I had run out of yellow required a bit of thought, but I got there! It was still a bit small, so I added a deep border (around 6-8") of some fabric I had in my stash. It has ended up being exactly width of fabric wide, as that meant I could do the long sides first and then the short sides, log cabin style, with wof strips from the metre of fabric I had.

To get to this point had taken one afternoon and evening - about 6 hours.

The next day, I rooted around in my stash for some suitable backing fabric. I didn't have enough of any one, so again I improvised and cut one brown metre in half, and added enough of a similar black.
Then came the quilting....
I'm not very experienced at the actual quilting, and I felt I could easily have stalled at this stage and had it sitting on my unfinished projects shelf for months, if not years. But having bish-bash-boshed it so far, I wanted to keep going!

My son helped me do a quick-and-dirty spray glue basting on the kitchen floor. I was musing aloud about how I was going to quilt it when I only had black or white thread, neither of which I thought would go with the yellow top. 'Can't you just stitch along the lines of the joins, mum?' he asked. So that's what I did - not along all the lines, but along a path that I found as I went, stitching in the ditch with a walking foot. It has ended up looking rather digital, I think!


Then the binding. I found another brown fabric in my stash and cut the strips, sewed them to the front, and then thought - hmmm. If I hand sew this around the back it will never get done tonight, and I'd like to give it to my son before bed time.

So I had a go at machine binding it. I don't know if this is a 'proper' method, but what I did was fold the binding over, and clip it in place, making sure it was covering the line of stitching. Then I stitched in the ditch all around the front of the quilt, the theory being it wouldn't show on the front and would catch the back edge in.
It isn't the smartest binding in the world on the back, but it was quite good enough for my son!
There are about three places round the edge, though, where I didn't catch the edge properly, so I do still need to do a little hand sewing to sort those out. That, however, can wait!
So, there you have it - an improvised quilt in 12 hours flat!

The funny thing is, I was very ambivalent when I started this as I didn't really like the colours my son had chosen. But I now love the result! And I am totally sold on this improv quilting lark. In fact, no sooner had I finished this one than I started, that same night, on the next 'score' in the book! I have finished the top for that one, so watch this space...

Finishing a whole quilt like this has given me so much more confidence - I highly recommend getting the book and trying improv quilting for yourself - or just sewing a jelly roll together and finishing the whole thing in a weekend, for a confidence boost!

Sunday, 3 January 2016

Winter Scene Mini Quilt Hanging - Attic Windows


Isn't this adorable? So chuffed with it!

Its a pattern from the Christmas issue of British Patchwork and Quilting magazine called Attic Windows. I couldn't find the single scene fabric they had used, but I managed to find these two, a winter village scene for the top of my scene and ice skaters for the foreground.

It was quite quick and simple, despite requiring some precision cutting to get those nice mitred corners (they are half-square triangles with the strips then added). The scenic squares are fussy cut and the whole thing goes together like a mini quilt, with the dark window frame forming the sashing.

I quilted it quite simply, first by stitching in the ditch along the window frames, and then adding some free motion quilting to suggest ice skating traces on the bottom six squares.

The whole thing is only about 14" square and I have it up as a little mini hanging at the moment. 

Thursday, 12 November 2015

Quilting Durham Cathedral?

Am I mad to even be contemplating this?

I was in Durham Cathedral on Monday night, for Evensong with a party of German guests. it was the first time I have been sitting in the Choir since taking up quilting. I found my eyes drawn to the marble marquetry floor - and realised that I was basically looking at a medieval quilt. In stone.

Look at this corners: it is basically flying geese!


 I took some sneaky pics (naughty) while we were showing our guests round afterwards. And I am wondering about trying to actually make a quilt showcasing some of these gorgeous patterns.
Lovely border designs: the middle section could be a great quilt block, too.

Probably would need to use foundation paper piecing for the more complex areas, I suspect?

I'm wondering if FPP designed on a computer would be a good way of replicating these curves/pyramids?
So I will start thinking about this. It might take some time, but wouldn't a Durham Cathedral Quilt be amazing?


Sunday, 21 June 2015

Baby Comfort Blanket

This week I turned a quilt square that I made earlier into a tactile comfort blankie for a friend's new baby. It was really surprisingly easy and quick!


 I took a quilt square - one of the string pieced ones I blogged about a few months ago - and sewed on various little ribbon tags around the edges.

I used a variety of different textures and sizes of ribbon.

Top tip - make sure, when you do this, that you sew them with the looped over end facing INWARDS (as in the photo)! Ahem - I did this for the first side, then realised I had sewn all the others with the loops facing out and had to chop them off and redo it.

Make sure that the bits of ribbon are not long enough to cause any sort of entanglement hazard. And I sewed them on with a double line of stitching, just to be double sure that they wouldn't come off when tugged and chewed.

I then laid a piece of baby fleece over the top of the whole thing (right sides together) and sewed all round the edge leaving a gap for turning, turned it the right way out and then handstitched the gap.

Stupidly, I then forgot to take a photo of the finished thing before giving it to mother and baby! But I'm sure you can imagine it. The lovely thing was that even though baby is far too small, at 4 days old, to be stroking and cuddling it yet, she clearly loved the kaleidoscopic patterns on the quilt square and her little eyes were scanning it busily!

The whole thing took less than an hour to make. If I'd had to make the quilt square from scratch, that would have added maybe another hour, but that still makes this a lovely little finish-in-an-evening project. I'm going to make more - I just need more friends to have babies now!


Monday, 1 June 2015

English paper piecing

The last quilt I showed you was a quilt for my eldest son ...this one is for my youngest, my daughter. (The middle son is having one made too, but that one is proving rather slow...blog to follow on the complexities of that one!). I've made the top, added the fleece, and am just beginning to quilt it.

This is actually the first one I started, back in February on my quilting retreat. We were introduced to various hand sewing techniques, and the EPP took me right back to making hexagons with my grandmother when I was about 8! I found it very meditative and quite mechanical - I didn't have to think about it too hard - so it was perfect for a retreat.

The great thing about EPP is that it is portable and you can do a tiny amount at a time.So you can sit on the sofa and make up some patches with the templates and fabric whilst watching telly. Or you can sew two together in 5 minutes, or make a whole star in 15 minutes (if you've already got the pieces prepared, maybe 30 if not). 


Whereas I find that the machined projects really need to be worked on for at least half an hour at a time in one go, and before you can start you have to have cleared the dining table, got the machine out, etc.

 This book was one that I was introduced to on the retreat. It is really good, and talks about portability a lot.

It was from here that I got the idea of the white interlocking background, which is created by adding two white diamonds to each star and then tessellating them.

One nice idea in here is doing a reverse of this quilt, with white stars and coloured background, and writing on each star in fabric pen where you made it, so it becomes a journal quilt!


The flip side of EPP being so meditative is that it does build up quite slowly as the pieces themselves are quite small. I am shallow enough to have decided that I'm using bigger diamonds next time, so it builds up quicker! I definitely got to the point where I wanted to complete this, rather than keep going and spend years building up a big enough collection of stars for a whole quilt. Luckily, I'd already decided I wanted to frame the design with other fabric, and it is very satisfying how doing that doubles the size of the quilt top very quickly.

I was originally going to frame it in just the white fabric with yellow stars and use the navy russian dolls fabric (that forms the narrow inner border) as the backing. But then my daughter saw my son's fleece-backed quilt (see that previous post) and decided she wanted a fleece backing too! And when I laid out the white starry fabric next to the pieced top it looked a bit anaemic - I'm very glad I thought of using the navy as an inner border, as it really makes the colours 'pop'.

I'm going to start another diamonds pattern, to have on the go, as it is so relaxing and easy to pick up and put down. At the moment I'm playing around with different flower/leaf/garden ideas, so I may make a fun sampler rather than a proper all-over design next.


Saturday, 30 May 2015

Pentecost Stole

I made this last year for Pentecost and had almost forgotten about it when I suddenly remembered I would get to wear it again this year!

I'd just been on my first needle-felting course, and had got terribly excited about the potential for stole making. With beginner's zeal, I needle-felted the whole background cloth from a big carded bat, as well as then adding the design, which took AGES! I suspect I might be inclined to wet-felt - or use bought in felt as a backing - next time.

The design itself was loosely copied from a variety of images that I found online, and was done freehand. I initially didn't trust myself to do the dove straight onto the stole, so I made one separately intending to add it. However, I had miscalculated the width (or rather, the narrowness) of the stole, so it was far too big!
So this little bird ended up on a wall hanging above my children's bed, as they clamoured to have it looking after them at night, and I had to pluck up my courage and do another directly onto the stole.

What I particularly loved about doing the dove was the slight three-dimensionality that you can achieve with needle felting. The wings go over one another, and the body and head are a little rounded. There is also (though you can't really see it in these photos) a slight colour variation, as I added very pale pink and grey wool to the cream in different places, to highlight subtly the different parts of the dove.

I have found, though, that the stole doesn't tend to hang very straight - it is not really heavy enough. So before next year, I need to work out how to add some interlining to give it a bit more body. Any ideas or tips from anyone who has done this before would be very gratefully received!


Wednesday, 15 April 2015

My first finished quilt!

Here is my first finished quilt! Made for my eldest son, who requested 'grey' and 'not all flowery' and, most importantly, 'soft'.

In response to the last request, it is not traditionally wadded but backed with fleece. I'm sure this is taboo in all sorts of quilting circles, but he loves it! It also made my first ever attempt at the actual quilting relatively straightforward, as there could be quite big gaps between the quilt lines - I just quilted free form wavy lines across the quilt at about 2-3" intervals.

The hardest thing was actually managing the bulk of fabric through the sewing machine, as it is quite big! Goodness knows what it must be like using wadding...


I made the top using a 'jelly roll' of batik strips in a colour way called 'river rock'. The design is based on the idea I'd seen on the cover of a book of jelly roll quilts - just the strips, with additional strips of background fabric in random lengths sewn onto the ends to make it wider and give a staggered frame effect.


I'm really pleased with it! I did enjoy not having to do much cutting - probably my least favourite part of the whole process. So I will definitely use precut strips again. The simple long seams got a bit boring towards the end, though, so I'll probably mix it up a bit more next time - I might try a parquet squares effect with my next jelly roll?