Sunday, 21 June 2015

Baby Comfort Blanket

This week I turned a quilt square that I made earlier into a tactile comfort blankie for a friend's new baby. It was really surprisingly easy and quick!


 I took a quilt square - one of the string pieced ones I blogged about a few months ago - and sewed on various little ribbon tags around the edges.

I used a variety of different textures and sizes of ribbon.

Top tip - make sure, when you do this, that you sew them with the looped over end facing INWARDS (as in the photo)! Ahem - I did this for the first side, then realised I had sewn all the others with the loops facing out and had to chop them off and redo it.

Make sure that the bits of ribbon are not long enough to cause any sort of entanglement hazard. And I sewed them on with a double line of stitching, just to be double sure that they wouldn't come off when tugged and chewed.

I then laid a piece of baby fleece over the top of the whole thing (right sides together) and sewed all round the edge leaving a gap for turning, turned it the right way out and then handstitched the gap.

Stupidly, I then forgot to take a photo of the finished thing before giving it to mother and baby! But I'm sure you can imagine it. The lovely thing was that even though baby is far too small, at 4 days old, to be stroking and cuddling it yet, she clearly loved the kaleidoscopic patterns on the quilt square and her little eyes were scanning it busily!

The whole thing took less than an hour to make. If I'd had to make the quilt square from scratch, that would have added maybe another hour, but that still makes this a lovely little finish-in-an-evening project. I'm going to make more - I just need more friends to have babies now!


Monday, 1 June 2015

English paper piecing

The last quilt I showed you was a quilt for my eldest son ...this one is for my youngest, my daughter. (The middle son is having one made too, but that one is proving rather slow...blog to follow on the complexities of that one!). I've made the top, added the fleece, and am just beginning to quilt it.

This is actually the first one I started, back in February on my quilting retreat. We were introduced to various hand sewing techniques, and the EPP took me right back to making hexagons with my grandmother when I was about 8! I found it very meditative and quite mechanical - I didn't have to think about it too hard - so it was perfect for a retreat.

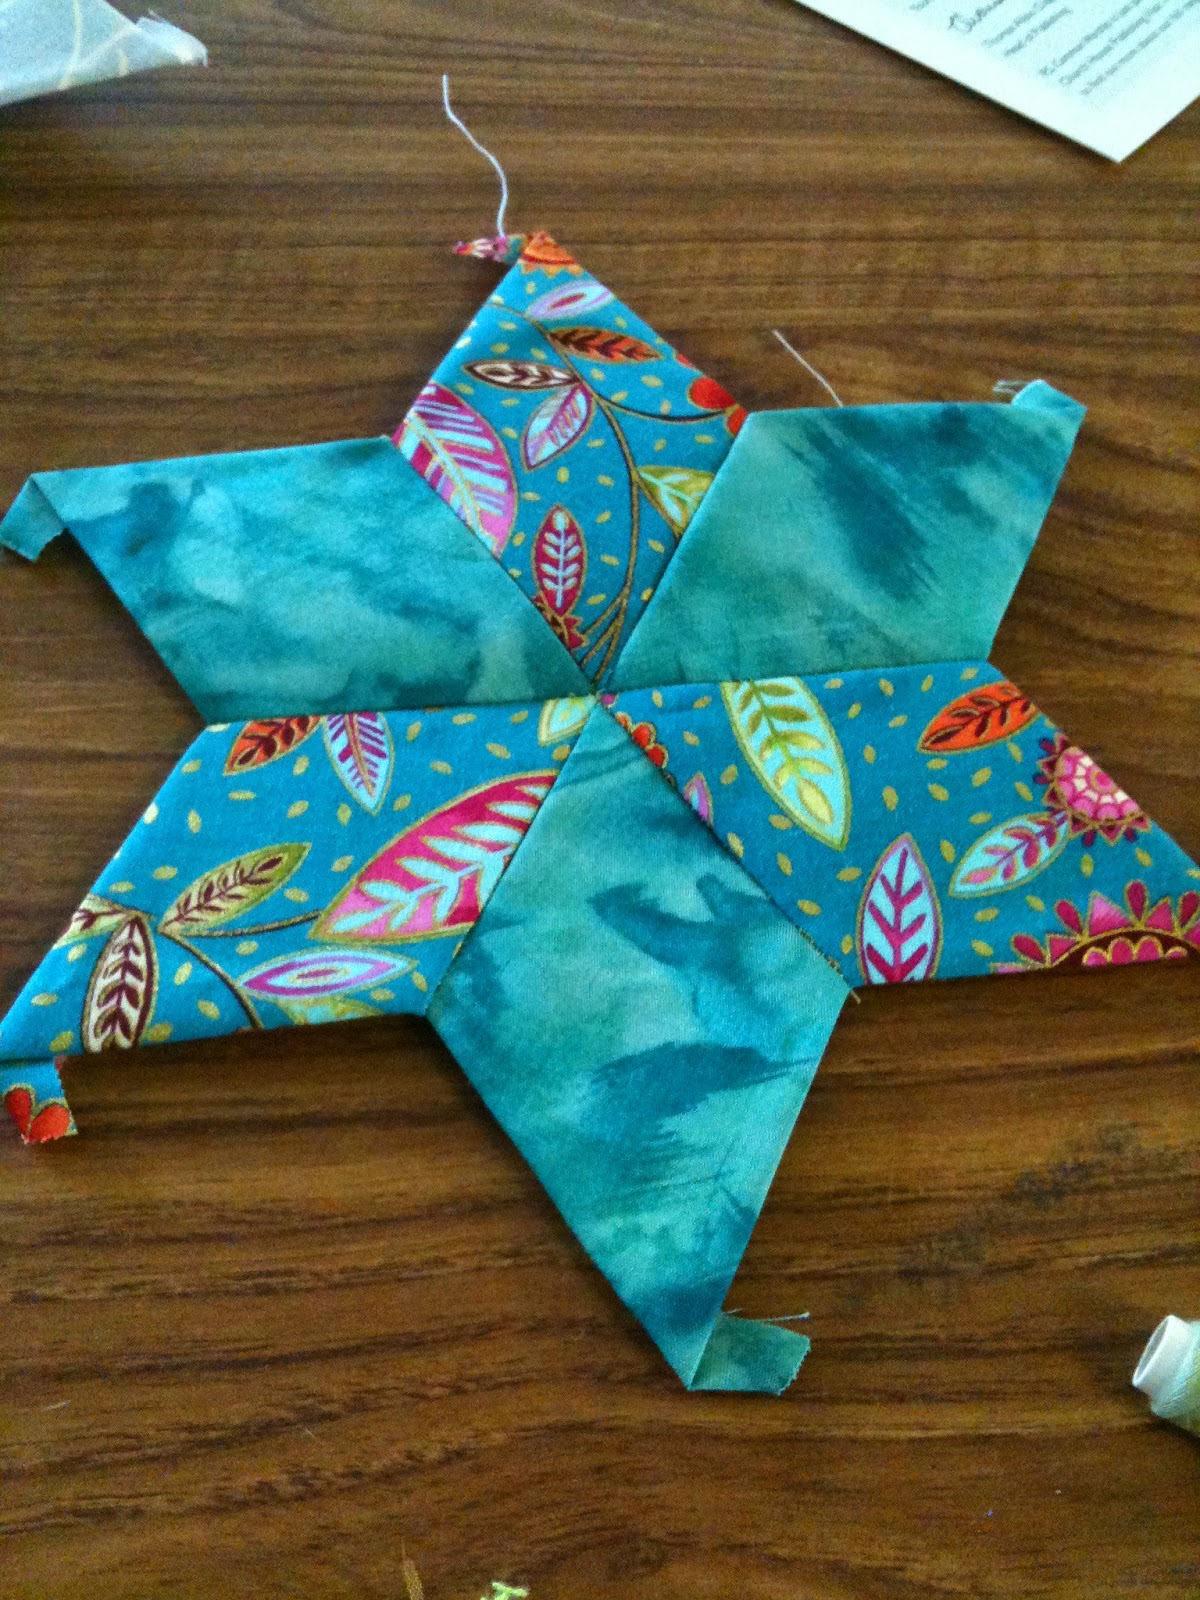
The great thing about EPP is that it is portable and you can do a tiny amount at a time.So you can sit on the sofa and make up some patches with the templates and fabric whilst watching telly. Or you can sew two together in 5 minutes, or make a whole star in 15 minutes (if you've already got the pieces prepared, maybe 30 if not). 


Whereas I find that the machined projects really need to be worked on for at least half an hour at a time in one go, and before you can start you have to have cleared the dining table, got the machine out, etc.

 This book was one that I was introduced to on the retreat. It is really good, and talks about portability a lot.

It was from here that I got the idea of the white interlocking background, which is created by adding two white diamonds to each star and then tessellating them.

One nice idea in here is doing a reverse of this quilt, with white stars and coloured background, and writing on each star in fabric pen where you made it, so it becomes a journal quilt!


The flip side of EPP being so meditative is that it does build up quite slowly as the pieces themselves are quite small. I am shallow enough to have decided that I'm using bigger diamonds next time, so it builds up quicker! I definitely got to the point where I wanted to complete this, rather than keep going and spend years building up a big enough collection of stars for a whole quilt. Luckily, I'd already decided I wanted to frame the design with other fabric, and it is very satisfying how doing that doubles the size of the quilt top very quickly.

I was originally going to frame it in just the white fabric with yellow stars and use the navy russian dolls fabric (that forms the narrow inner border) as the backing. But then my daughter saw my son's fleece-backed quilt (see that previous post) and decided she wanted a fleece backing too! And when I laid out the white starry fabric next to the pieced top it looked a bit anaemic - I'm very glad I thought of using the navy as an inner border, as it really makes the colours 'pop'.

I'm going to start another diamonds pattern, to have on the go, as it is so relaxing and easy to pick up and put down. At the moment I'm playing around with different flower/leaf/garden ideas, so I may make a fun sampler rather than a proper all-over design next.